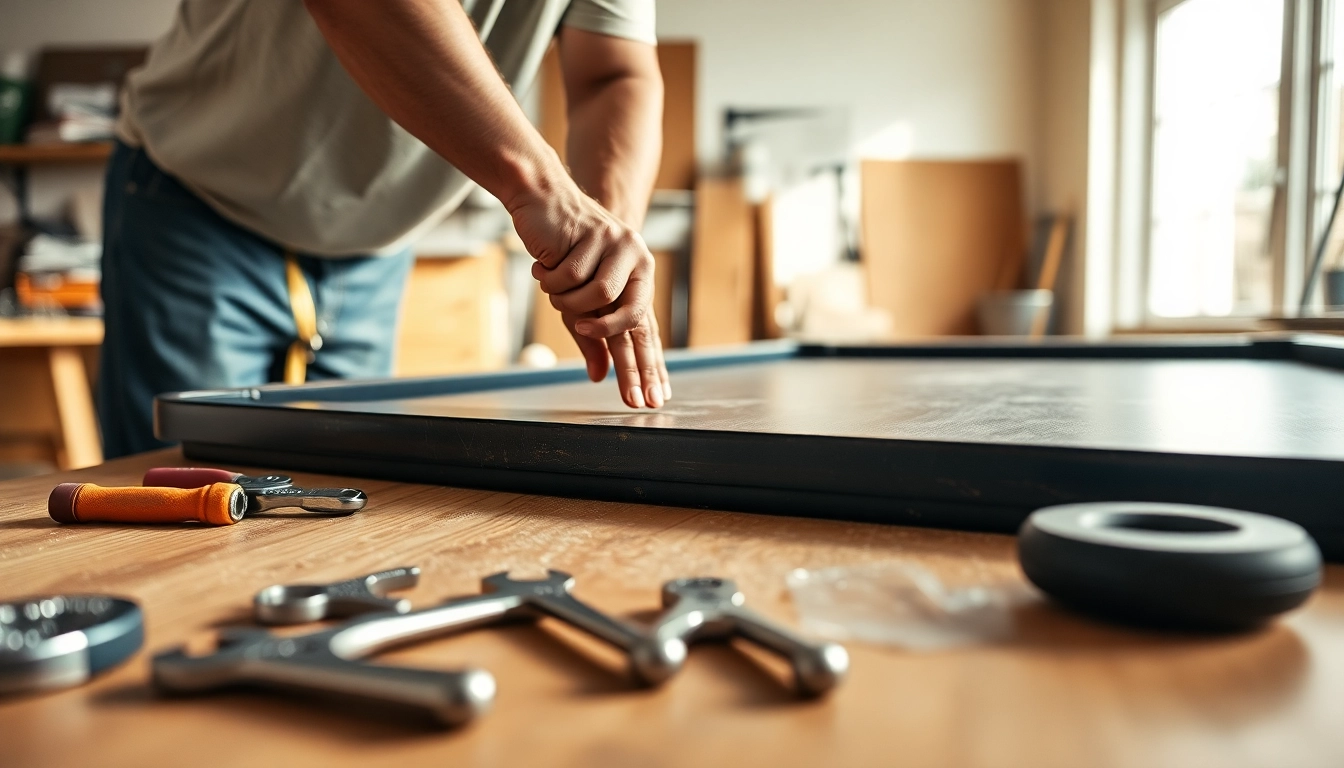
Understanding Pool Table Disassembly
What is Pool Table Disassembly?
Disassembling a pool table refers to the process of safely taking apart the various components of the table for reasons such as moving it, repairing it, or recovering its surface. This intricate task is essential to maintain the integrity of the table and prevent damage during transportation or storage.
Importance of Proper Disassembly
Understanding the importance of proper disassembly can save you time, effort, and money. A properly disassembled pool table ensures that each component remains intact and is easier to reassemble. Poor dismantling may lead to wear and tear, unnecessary damage, or lost pieces. For those unfamiliar with the process, seeking guidance on Pool Table Disassembly could be beneficial.
Tools Needed for Pool Table Disassembly
To disassemble a pool table effectively, you will need several common tools, including:
- Socket Wrench Set
- Power Drill
- Screwdriver (flat and Phillips)
- Staple Remover
- Pliers
- Measuring Tape
- Safety Gloves and Eye Protection
Having the right tools ready can streamline the disassembly process and reduce the likelihood of injuries or damage.
Step-by-Step Instructions for Pool Table Disassembly
Preparing Your Area
Before you begin disassembly, select a suitable area that is spacious enough, clean, and dry. Consider placing a protective covering on the floor to safeguard it against any accidents. Gather all necessary tools and label a few containers to store the various hardware components for easy assembly later.
Disassembling the Rails and Pockets
Start by removing the pockets attached to the table’s sides. These are often secured with screws or staples. Using a screwdriver or staple remover, carefully detach them and place them in a labeled container. Next, locate the rail bolts. Unscrew these to detach the rails from the table. This step may require both a power drill and a socket wrench, depending on the table's design.
Removing the Slate Safely
After the rails and pockets are removed, the next step involves taking off the slate. Slate pieces can be heavy and cumbersome, so ensure you have help. Unscrew the slate bolts and check any felt material attached underneath. Remove the felt gently and set it aside, ensuring minimal damage.
Once the slate is free, lift it off carefully and place it on a soft surface or padded area. This precaution will prevent any scratches or cracks from occurring during the moving process.
Common Challenges in Pool Table Disassembly
Facing Stuck Fasteners
One of the most common challenges in disassembly is encountering stuck fasteners, which can be challenging to remove. If you face such an issue, applying penetrating oil to the fastener can help free it up after a few minutes. Be sure to use appropriate tools and leverage to avoid damaging the table.
Ensuring Level Slates
Another challenge arises in ensuring that the slates remain level and intact during transport. During reassembly, if the slates aren't level, it can affect gameplay significantly. To maintain their condition, store them flat and at room temperature, avoiding extreme temperatures or moisture.
Avoiding Damage During Disassembly
Care is essential when disassembling a pool table. Use padded blankets when transporting various parts, and ensure you handle the slate with care to avoid breaking it. If possible, have a friend help out, especially with large components.
Best Practices for Efficient Pool Table Disassembly
Planning Your Disassembly Process
Before you dive into the task, create a step-by-step plan. Document each step and visualize what needs to be accomplished. Consider taking photos before disassembly; it could serve as a helpful guide during reassembly.
Safety Precautions During Disassembly
When working with heavy equipment, safety is paramount. Wear safety gloves and protective eyewear. Ensure that your work area is well-lit and free from clutter, eliminating any tripping hazards.
Storing Parts Properly After Disassembly
After removing the parts, organize them efficiently. Label bags and containers for small pieces like screws and bolts, ensuring they will be easy to locate when you are reassembling the table. This organization helps save time and prevents frustration.
FAQs About Pool Table Disassembly
How long does it take to disassemble a pool table?
Disassembling a pool table generally takes between 2 to 4 hours, depending on the experience level of the person doing it and the type of pool table.
Can I disassemble a pool table alone?
While it's feasible to disassemble a pool table alone, it's recommended to have at least one additional person, especially for lifting heavy components like the slate.
What tools do I need for effective pool table disassembly?
You will typically need a socket wrench, power drill, screwdrivers, and a staple remover among other essential tools for effective disassembly.
How much does professional pool table disassembly cost?
Hiring professionals for pool table disassembly can cost between $200 and $500, varying by size and complexity of the table.
What if I lose parts during disassembly?
It's crucial to keep all parts organized. Use labeled bags or containers for small components to prevent loss and ensure all necessary parts are available during reassembly.